How to Add Golf Score Graphics in DaVinci Resolve
2026-11-08 · Score Graphics
DaVinci Resolve is the editor a lot of golf creators end up on: it's free, it's fast, and the free version handles everything a YouTube golf video needs. Adding a score graphic to every shot works well in Resolve too, once you know the two settings that trip most people up.
This guide covers importing a round's graphics, stopping Resolve from joining them into one clip, placing them over your footage, timing them, and keeping animated clips transparent.
Before you start
- A transparent PNG for every shot, the same size as your timeline: 1920 × 1080 for HD, 3840 × 2160 for 4K, or 1080 × 1920 for a vertical Short.
- Files named in order, such as H06_S2.png for hole 6, shot 2, so they sort the way they happen.
- A folder per hole, which keeps a big round easy to find your way around.
- An edit that's nearly locked. Graphics go on fastest once the shots have stopped moving.
If you're making the graphics yourself, the beginner's guide covers what goes on one.
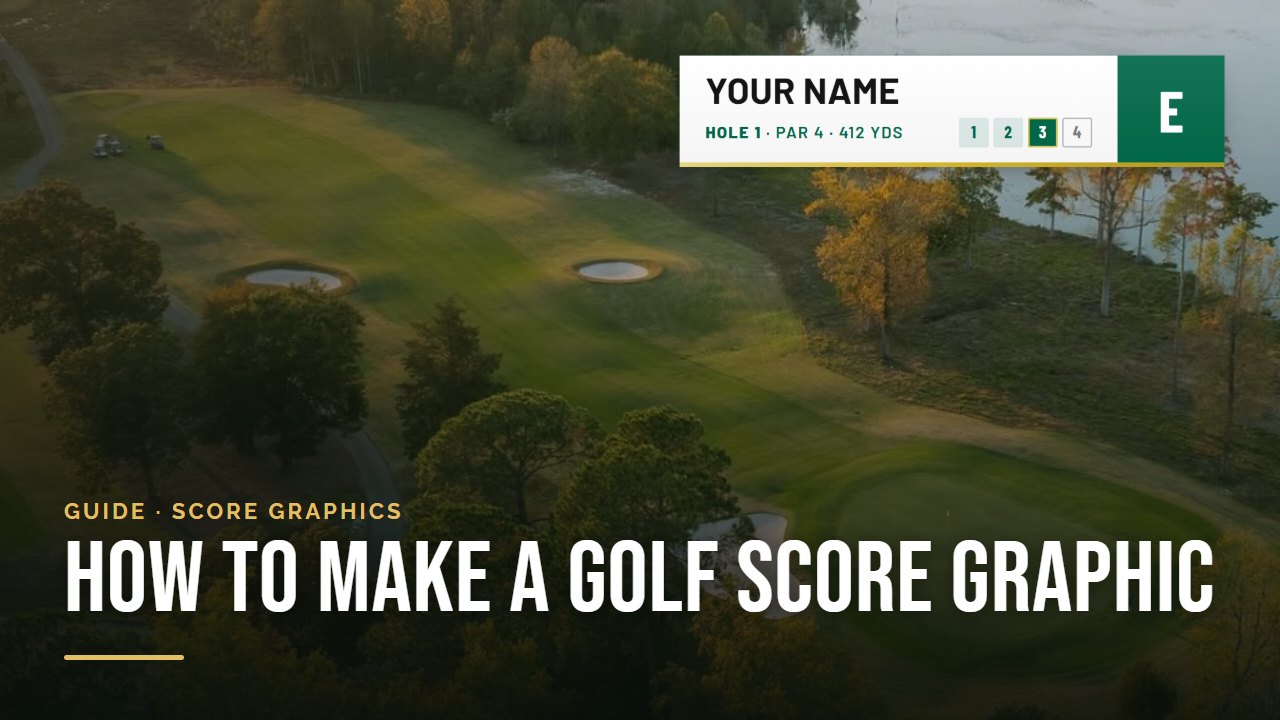 Beginner's guideHow to Make a Golf Score Graphic
Step 1: set the still duration
Every image you drop on the timeline comes in at Resolve's standard still duration, 5 seconds unless you've changed it. Open Preferences → User → Editing and set the standard still duration to roughly one shot, 4 or 5 seconds. You'll still trim each graphic, just less.
While you're setting up, check the project's image scaling (Project Settings → Image Scaling). If your graphics match your timeline size, nothing changes. If you're putting 4K graphics on an HD timeline, scaling mismatched files to fit means you won't resize each one by hand.
Step 2: stop Resolve joining your graphics into one clip
This is the one that catches everyone. Resolve sees a folder of numbered images and treats them as an image sequence: one clip that flashes through every graphic in a few frames. That's handy for animation renders and no good for score graphics.
On the Media page, open the options menu (the three dots) at the top of the Media Storage panel and set Frame Display Mode to Individual. Now every PNG imports as its own still.
Step 3: import the folder as bins
Still on the Media page, find your graphics folder in Media Storage, right-click it and add the folder and its subfolders to the Media Pool with bins. Each hole's folder becomes a bin with its shots inside, in order. You can also drag the folder straight into the Media Pool.
Step 4: place the graphics on V2
Your footage sits on Video 1. Score graphics go on Video 2, the track above, so they show on top of it. A scorecard between holes, a lower-third or captions can each have their own track above that.
- Move the playhead to just before the swing, about a second before the club meets the ball.
- Drag the graphic for that shot from its bin onto Video 2 at the playhead.
- Trim the end to where the shot finishes, usually as the ball lands or the clip cuts to the next shot.
- Repeat for the next shot.
Faster: open a hole's bin, select all its graphics and drag them onto Video 2 together. They land end to end, in name order. Then work along the hole, sliding each one to its shot and trimming it. Turn on snapping so edges lock to your cuts.
Show each graphic before the shot, not as it happens. Viewers want the hole, par and score before the swing, so they know what's riding on it.
Step 5: animated graphics as transparent .mov clips
An animated score graphic is a short clip with a transparent background: it animates in, then stops on the finished graphic. Put the clip down first and the still PNG of the same shot straight after it on Video 2. The clip plays the entrance, and the PNG holds the graphic for the rest of the shot.
For Resolve, use a .mov in QuickTime Animation. If a clip ever shows a black box behind the graphic, the transparency is there but Resolve isn't using it: right-click the clip in the Media Pool, open Clip Attributes, and set the Alpha Mode to Premultiplied (or Straight, whichever looks right). You can select every clip in a bin and change them all at once.
Tips that save time
- Compound each animated pair. Select a clip and its still, right-click and make a compound clip. The pair then moves as one, so sliding a graphic earlier never leaves a gap between the animation and the hold.
- Lock what you're not touching. When you trim footage after the graphics are on, use the track lock and auto-select controls so Video 2 moves with Video 1, or the later graphics drift out of place.
- Save a template timeline. Once your tracks are set (footage on V1, score graphics on V2, scorecards on V3), duplicate that empty timeline for each new video.
- Play a few holes at full speed. Scrubbing hides timing problems. Watch a few holes through to check each graphic lands before its swing.
- Make vertical its own timeline. For Shorts, TikTok and Reels, create a timeline in vertical resolution and use 1080 × 1920 graphics rather than cropping the wide edit.
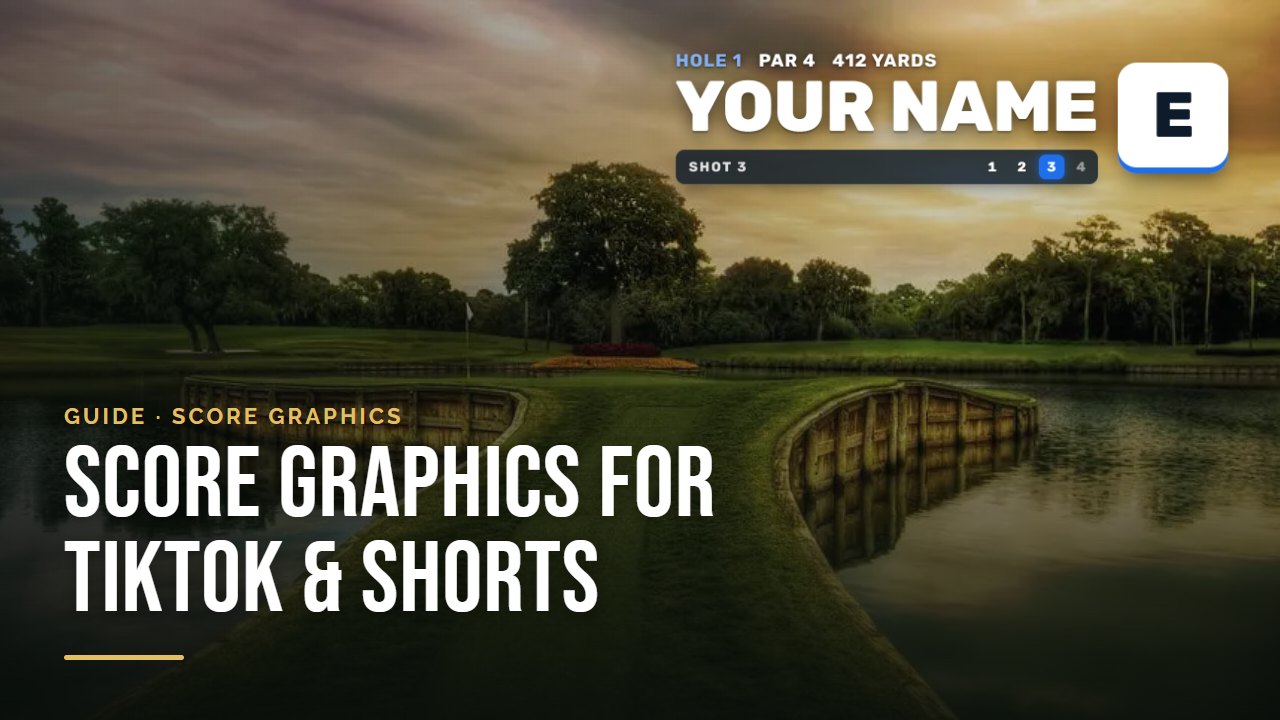 Short-form videoGolf Score Graphics for TikTok, Reels and Shorts
Where the time really goes
Placing graphics in Resolve is quick once you've done a round or two. Making them is the slow part: every shot needs its own graphic because the shot number and score change each time, and keeping the score to par right for 18 holes by hand takes hours. Get the 4th hole wrong and everything after it is wrong too.
The Score Graphics Generator makes them for you. Type your scorecard in once, or on Pro photograph it and the AI scan fills it in. It runs in your browser, so there's nothing to install.
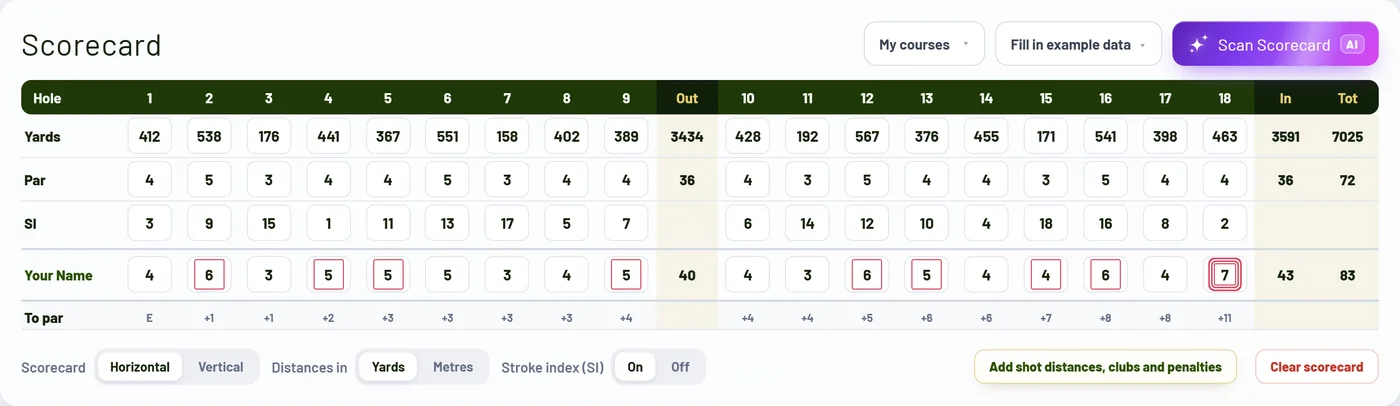
It exports a folder per hole with a transparent PNG for every shot, already named in order, ready to become bins in your Media Pool. Exports come in HD and vertical, and 4K on Pro.
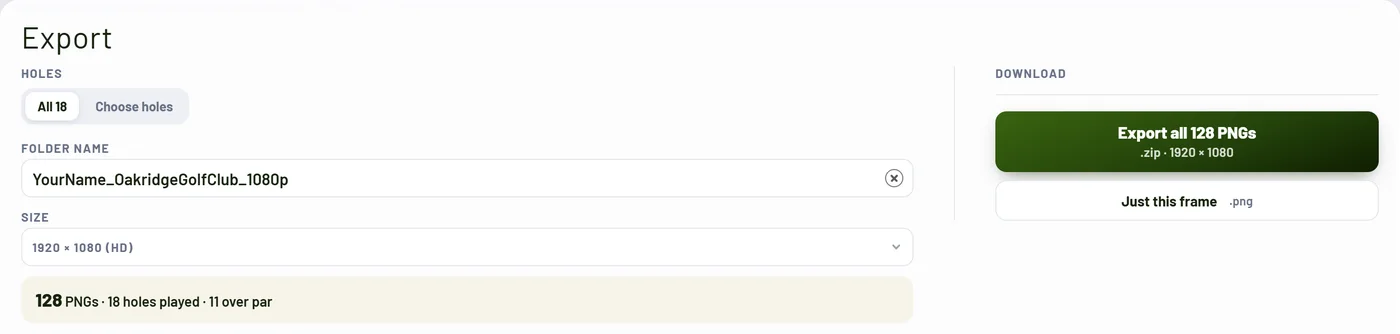
On Pro, animated designs export as transparent clips too. Pick DaVinci Resolve in the generator's video format setting and you get .mov files in QuickTime Animation, the format Resolve keeps transparent. Pro also adds a scorecard graphic after every hole, filled in through that hole.
Try it on your next edit
Make a free account and preview every design with your own name before you pay anything. Starter and Pro both come with a 14-day free trial.